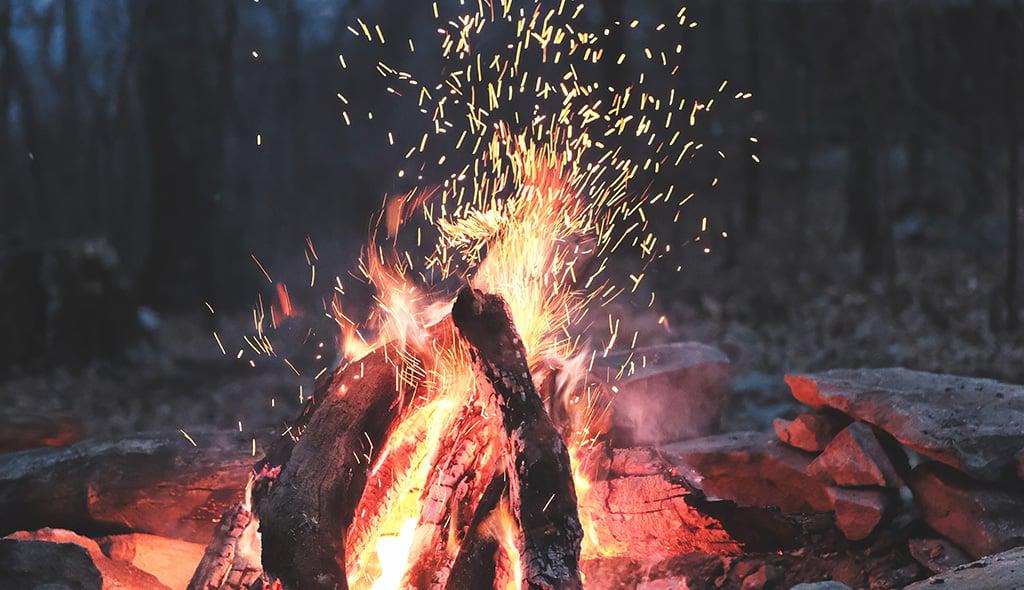
 Once upon a time, creating fire was a necessary skillset. You didn’t eat without fire; you didn’t stay warm without fire; you certainly didn’t survive without fire. These days, we live in a world full of luxury and convenience. Very rarely do we actually need to start a fire; instead, we simply turn a knob on the stove or push a button near the fireplace. Voila! That’s how you start a fire…….right?! That’s not the case for those of us who enjoy spending time outside. The ability to know how to start a fire is critical. If your backpacking stove breaks, how would you boil water? If you fall into an icy stream during a sketchy crossing, how would you warm up again? There are numerous times when this skill will come in handy in the wilderness. Here are step-by-step instructions on how to start a fire with a variety of tools. You never know when these skills will come in handy! Table of Contents
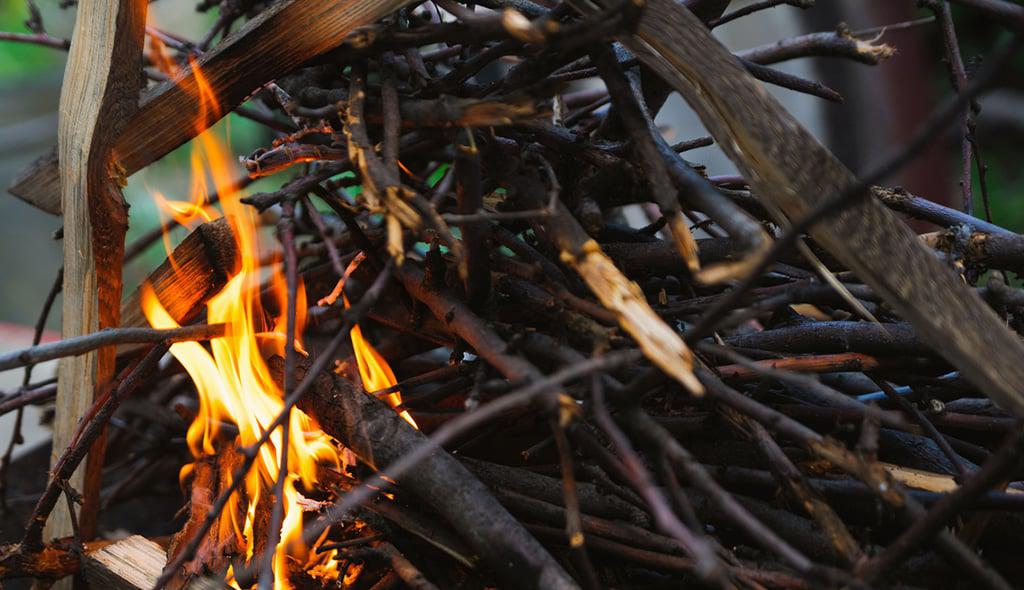
Gather Your Tools
Before you even begin to think about making fire, you need to collect the necessary tools. Of course, this will vary depending on the fire building technique you are using, but the basics remain much the same. You will need three different types of fuel to get your fire raging:
- Tinder: This is the smallest of your burning materials and includes small twigs, crumpled paper, dryer lint (if you brought any), leaves or pine needles
- Kindling: This is the next step up in size and usually includes smaller branches that are less than 1-inch in diameter
- Firewood: This is the big daddy of your fire! These larger pieces of wood will keep your fire going long into the night (or however long you need your fire to last)
Remember that you should never break any branches off live trees to create your fire. Some forest service agencies allow you to pick branches up off the ground, but not all do so check with the appropriate agency in your area before heading to your campsite. If you are unsure and know that you will be car camping, purchase a bundle of firewood ahead of time. If you are backpacking and an emergency fire is required, only gather small pieces of wood away from your campsite. A general guideline is to gather only down and dead branches that are smaller than your wrist. Above all else, remember to follow the Leave No Trace rules regarding fire making in the backcountry.
Establish a Fire Ring
The next step is to build or find a fire ring -the location for your fire. If you are car camping, your fire should always be located in an established fire ring. Most undeveloped campsites still have makeshift rings that were established long ago. If you are backpacking, check to make sure backcountry fires are permitted since they frequently are not. If so, always try to find an existing fire ring left by a previous user. This ensures you will not further scar the landscape. Only build a new fire ring in an emergency situation and, if possible, be sure to completely dismantle it before leaving the campsite.
How to Start a Fire
Finally, we get to the big stuff: how to start a fire in a fire pit. There are various techniques depending on your tools, but let’s cover the basic methods.
How to Start a Fire With Wood and a Lighter
 Starting a fire with wood and a lighter (or matches) is likely the easiest method you will find. There are two main structures for this type of fire:
- Teepee: Pile some tinder in the middle of your fire ring and arrange a teepee-like structure of kindling around that pile. As the fire grows stronger, add some larger wood
- Log cabin: Create another small kindling teepee in the middle of the ring as described previously. Then, place two pieces of larger firewood parallel to each other on either side of the teepee. Snag two more larger pieces and place perpendicular to those and on top of them (similar to Lincoln Logs we had as children!) Continue using smaller wood and build the “cabin” upward and inward before adding some tinder as the “roof”
Once the structure is built, use your lighter or matches to ignite the tinder. Lightly blow on the flame base to add oxygen and increase its burning powers.
How to Start a Fire With Wet Wood
 No one wants to deal with a soggy camping trip but it happens! The trick to getting wet wood to light is generating enough heat that the larger pieces dry out. To do this, it’s imperative that you have completely dry tinder. Since dry tinder can be tough to locate, it’s a good idea to always carry some on you. Some popular options include dryer lint or cotton balls soaked in petroleum jelly (like Vaseline). Of course, dry newspaper always works well too. Then, try to find some kindling that is remotely dry. If it’s raining, nothing is going to be completely dry but snag some kindling that’s resting under a tree bough rather than a bundle that is floating down a river. Use this kindling just like previously described with the tinder. As your tinder burns, keep adding more kindling to continually generate heat. While this small fire is burning, lay your larger sticks alongside the fire to dry out as much as possible. You can even place these larger pieces in the fire pit so the warmth draws the moisture out of the wood. Once your kindling fire is big enough, gradually add these bigger sticks.
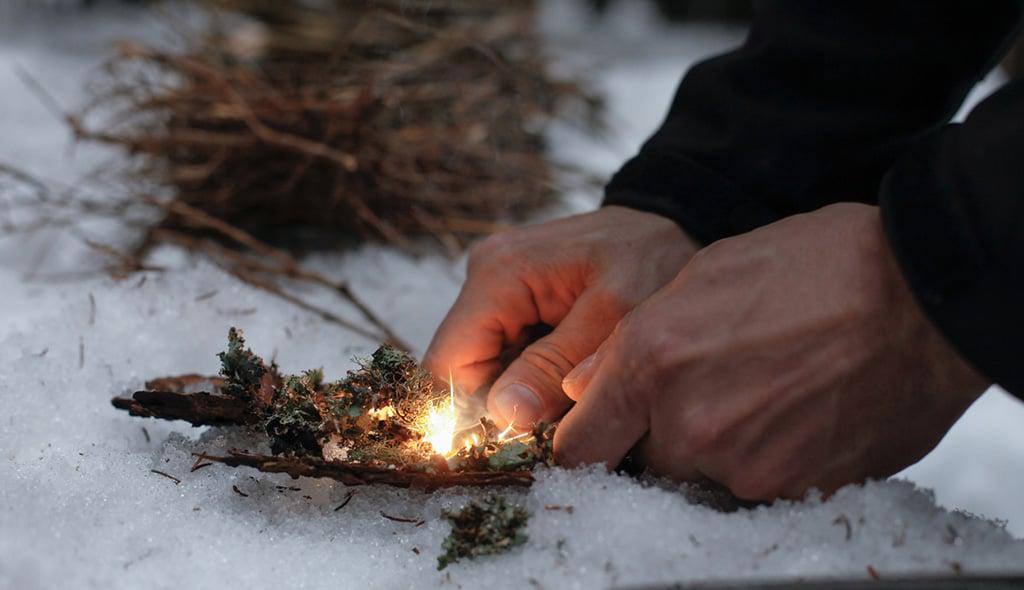
How to Start a Fire With Flint and Magnesium
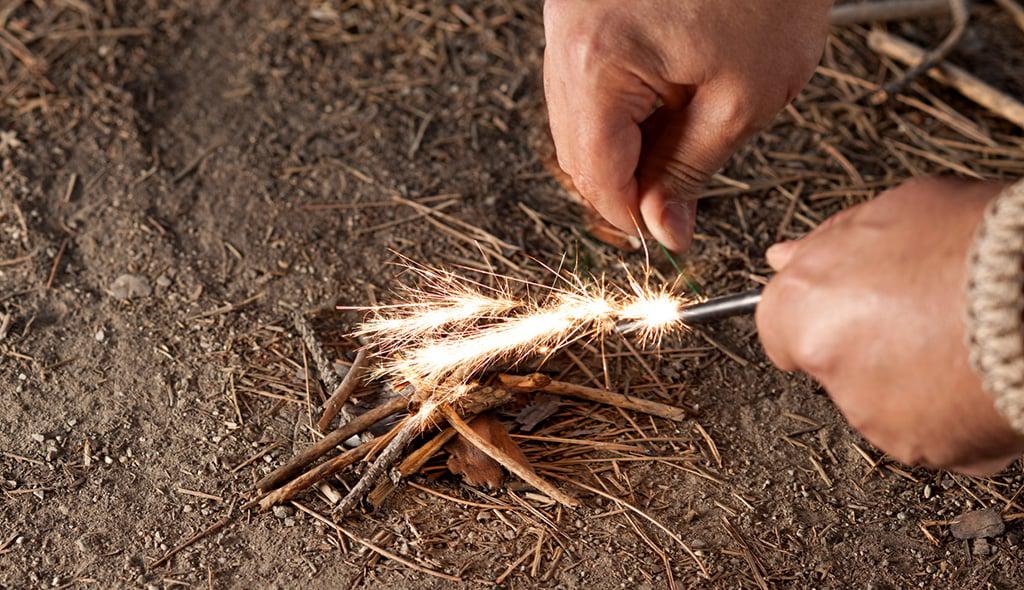 If you don’t have matches or a lighter, you will need to start your fire with flint and steel; they will act as your fire starter. The purpose of a fire starter is to create that initial spark that will catch your tinder on fire. First, use a pocket knife to scrape small shavings of magnesium into the fire pit. Be careful not to use the sharp edge of your blade as this will dull the knife. Instead, use the back side. Peel as many magnesium shavings onto your tinder as you think you will need to start a fire (this will depend on how flammable your tinder is). Once you have collected the shavings into a tiny pile, it’s time to create a spark. Usually, one side of the magnesium bar has a flint strip. The idea is to forcefully strike the strip in a downward fashion so that it creates a spark that bounces onto the magnesium/tinder pile you’ve created (you can use your knife for this). This part takes practice; be careful not to hurt yourself! Once you catch the magnesium pile on fire, treat it just as you would with the previously described techniques. https://www.youtube-nocookie.com/embed/QkyV6o9Cd84
How to Start a Fire With a Battery
 Let’s be honest: most of us are never going to need to start a fire with this method! After all, it’s tough to imagine a situation where you will be starting a fire without matches or flint but with a battery and steel wool?! Nevertheless, it’s a fun experiment to try at home, just because you can. With that said, grab yourself a battery (9-volt works the best, although any will work) and a chunk of steel wool; the kind you use to wash pots and pans works great. Then, stretch the steel wool out so it’s about 6 inches long and maybe ½-inch wide. Holding the steel wool in one hand and the battery in the other, rub the connector points of the battery against the wool. Once the wool begins to glow, gently blow on it. This will create a small flame that you can then transfer to your pile of tinder. Word of caution: the wool’s flame will go out quickly, so don’t waste time!
How to Extinguish Your Campfire
No matter where you are camping, it’s important to make sure your fire is completely out before leaving. Even if you don’t see flames, it is a good idea to douse your coals in water. Then, stir the ashes around with a stick. The ashes should be cool to the touch before you leave them unattended. After all, only you can prevent forest fires!